Uploading and Debugging Code on an RP2040-based Board without USB (Ubuntu)
Part of this post was written with the help of an AI
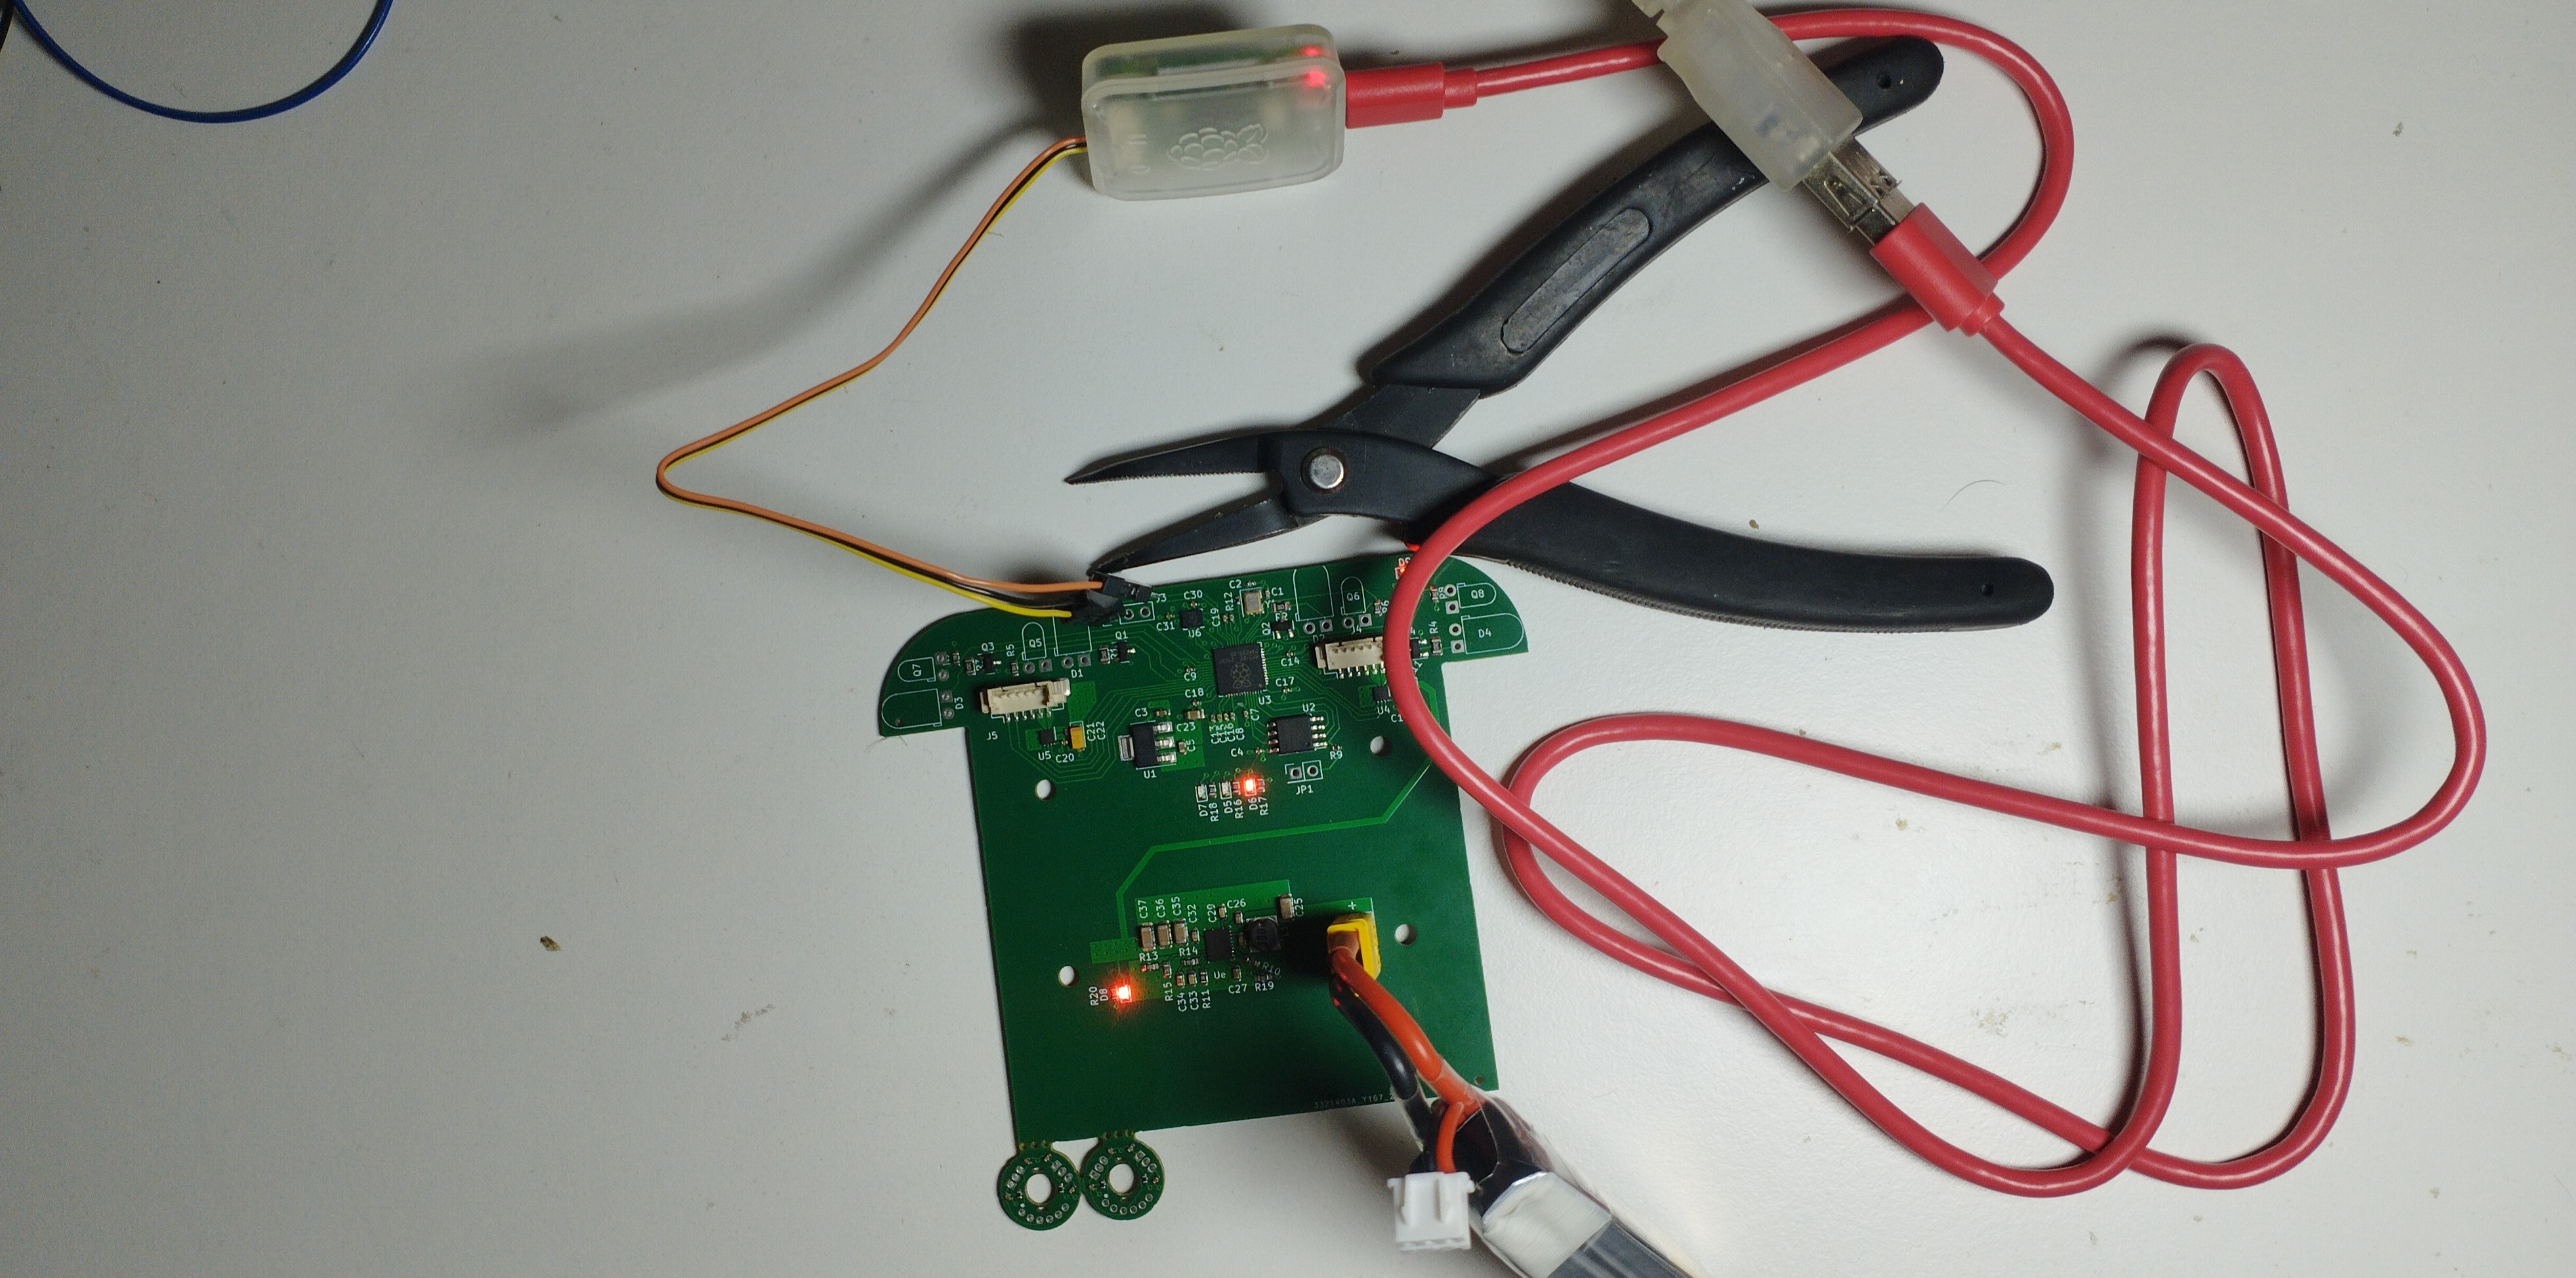
I’ve been working on a micro RP2040-based robot micromouse for a while, and I wanted to help those who, like me, aren’t very familiar with uploading and debugging code without using USB. I’m using the debugger from the same company, the Raspberry Pi Debug Probe, but it can also be done with a Raspberry Pi Pico board or any other RP2040-based board that has a USB port.
It’s important to clarify some basic concepts of what we’re going to do. We want to be able to:
-
Upload code: This means loading or transferring the previously developed program into the microcontroller’s memory so that it can be executed and control its functions according to the programmed specifications.
-
Debug the code: This involves reading and writing to the microcontroller’s memory, observing and modifying internal registers, setting breakpoints, stepping through code, and monitoring the program’s flow during execution.
It’s important to note that this microcontroller can only be debugged using the SWD debugging interface and not through USB, at least not in a straightforward way. Opening a serial port and filling the code with prints isn’t elegant and makes me sad :(
What we need:
- Raspberry Pi Debug Probe
- RP2040-based board with accessible SWD port, like a Raspberry Pi Pico for example.
- Cable, battery, or any power source for our board because the Debug Probe doesn’t provide power.
Prerequisites:
Install two software tools, OpenOCD and gdb-multiarch.
OpenOCD
 $ sudo apt install openocd
 $ sudo apt install automake autoconf build-essential texinfo libtool libftdi-dev libusb-1.0-0-dev
I had to install this additional tool (not mentioned in the RasPi guide):
$ sudo apt install pkg-config Clone the openocd repository for the RP2040 microcontroller
$ git clone https://github.com/raspberrypi/openocd.git --branch rp2040-v0.12.0 --depth=1 –no-single-branch $ cd openocd
$ ./bootstrap
$ ./configure
$ make -j4
$ sudo make install gdb-multiarch
Install the package and you’re done
$ sudo apt install gdb-multiarch
Connecting to the debugger
To connect to the microcontroller’s core and upload code, we need to connect the SWD interface cables from the debugger to our board (SWD, SWCLK, and GND), connect the USB cable to our PC, power the board (in my case through a battery), and finally execute the following command in the terminal
$ sudo openocd -f interface/cmsis-dap.cfg -f target/rp2040.cfg -c "adapter speed 5000"We should get an output like this, where it’s listening for a connection on port 3333 of our PC.
Info : starting gdb server for rp2040.core0 on 3333
Info : Listening on port 3333 for gdb connections
Now we should leave this terminal and open another one. In this new terminal, navigate to where you have the binary you want to upload.
user@userPC:~/Project/pico/pico-examples/build/blink$ ls -l
 blink.bin
 blink.dis
 blink.elf
 blink.elf.map
 blink.hex
 blink.uf2
 CMakeFiles
 cmake_install.cmake
 elf2uf2
 Makefile
user@userPC:~/Project/pico/pico-examples/build/blink$ gdb-multiarch
In my case, the folder contains a bunch of files produced by the cmake compilation tool.
NOTE: It’s important that when compiling with cmake, you include the debugging flag; otherwise, it will be impossible to step through with the debugger and set breakpoints.
$ cmake -DCMAKE_BUILD_TYPE=Debug ..
$ make -j4
In the folder, run the dbg-multiarch debugging tool and pass it the binary in question.
$ gdb-multiarch blink.elfIt will show us something like this
user@userPC:~/Project/pico/pico-examples/build/blink$ gdb-multiarch blink.elf
GNU gdb (Ubuntu 12.1-0ubuntu1~22.04) 12.1
Copyright (C) 2022 Free Software Foundation, Inc.
License GPLv3+: GNU GPL version 3 or later <http://gnu.org/licenses/gpl.html>
This is free software: you are free to change and redistribute it.
There is NO WARRANTY, to the extent permitted by law.
Type "show copying" and "show warranty" for details.
This GDB was configured as "x86_64-linux-gnu".
Type "show configuration" for configuration details.
For bug reporting instructions, please see:
<https://www.gnu.org/software/gdb/bugs/>.
Find the GDB manual and other documentation resources online at:
    <http://www.gnu.org/software/gdb/documentation/>.

For help, type "help".
Type "apropos word" to search for commands related to "word"...
Reading symbols from blink.elf...
(gdb)
As we can see, a prompt appeared that allows us to send instructions to the GDB debugger. The first thing we will do is connect to our board:
(gdb) target remote localhost:3333To check if we are connected, we need to go back to the previous terminal where we ran OpenOCD and see if a message like this appears:
Info : dropped 'gdb' connection
Info : accepting 'gdb' connection on tcp/3333
Info : New GDB Connection: 1, Target rp2040.core0, state: halted
Uploading and Running the Code
If everything is going well, we return to our GDB console and can upload the code using the load command:
(gdb) load
Loading section .boot2, size 0x100 lma 0x10000000
Loading section .text, size 0x1eb0 lma 0x10000100
Loading section .rodata, size 0xf4 lma 0x10001fb0
Loading section .binary_info, size 0x20 lma 0x100020a4
Loading section .data, size 0x18c lma 0x100020c4
Start address 0x100001e8, load size 8784
Transfer rate: 11 KB/sec, 1756 bytes/write.
(gdb) _
Now that we have the code on the microcontroller, we can execute it in an orderly manner. The first thing we do is reset everything and go to the beginning of the program using the monitor reset init command. Then, we start with the **continue**command, although c is also valid:
(gdb) monitor reset init
(gdb) c
Continuing.
Now we know how to upload the code, restart the program, and stop it whenever we want. From here, we can do many other things: set breakpoints, display and modify variable values, step through line by line, or return to a specific location. However, this is not the focus of this post. If you want to learn more, you have the official GDB documentation at your disposal. Nevertheless, I’ll leave you with a couple of commands that I frequently use:
(gdb) // Ctrl+C to halt execution
(gdb) br main.cpp:12 // set a breakpoint in the main.cpp file at line 12
(gdb) del br // delete all breakpoints
(gdb) p num_manzanas // view the value of the variable num_manzanas
(gdb) set num_manzanas=12 // assign the value 12 to the num_manzanas variable
I encourage all of you to get to know this debugging tool. While it might be a bit cumbersome, I believe it’s very helpful to understand how debugging works in current IDEs.
Best regards :D
<!– >, if you want to learn more, you have the official GDB documentation at your disposal. Additionally, I’ll leave you with the official manual, it’s a bit old school but undoubtedly helpful to explore everything you can do. –>
<!— _*These recommendations are not
usually followed by the author but keep trying every day 😊 ._ —>
Dario Gonzalez.
EOF